Introduction:
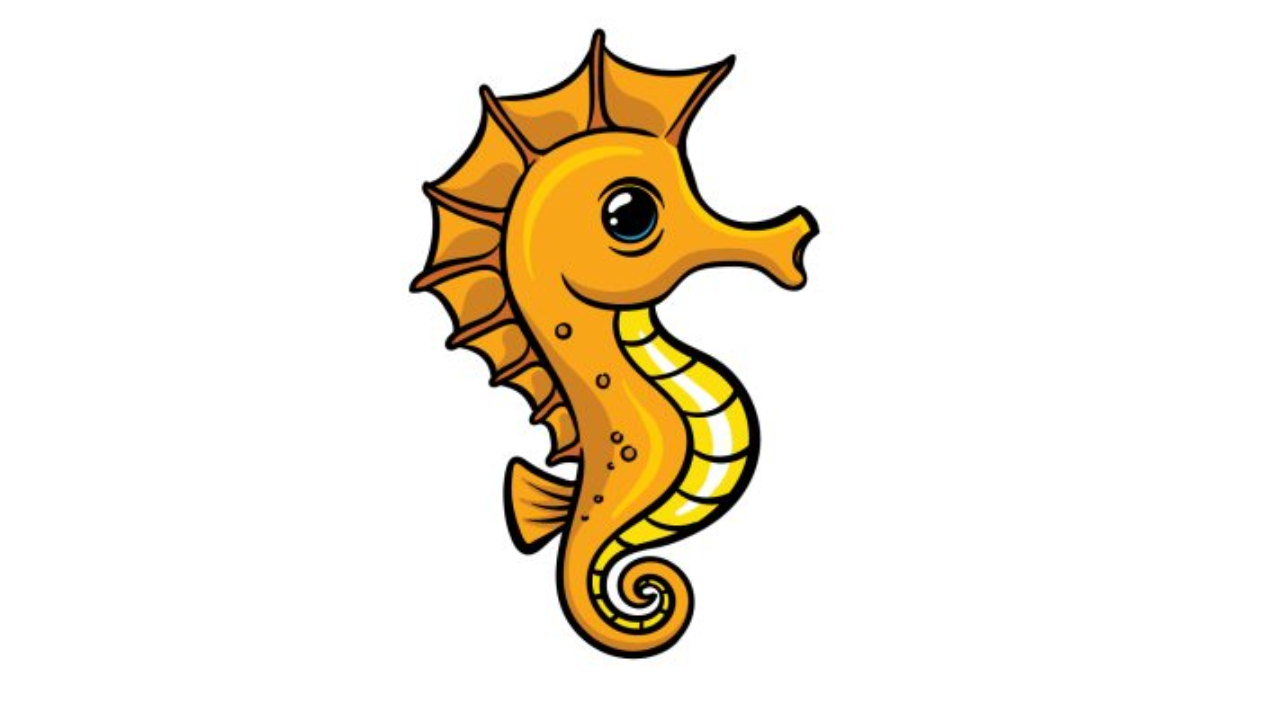
Draw A Cartoon Seahorse: Drawing youngster’s shows can be horseplay and repaying innovative endeavors, and one charming creature that gets the imaginative brain as often as possible is the seahorse. With its uncommon shape and flighty appearance, a cartoon seahorse can convey a touch of lowered wizardry to your craftsmanship. In this little by little aide, we’ll walk you through the most well-known approach to making your unique cartoon seahorse.
Also, you may like these easy Turkey coloring pages.
Materials You’ll Need:
Before we dive into the drawing framework, guarantee you have the ongoing going with materials:
Paper: Start with an unblemished piece of paper. A heavier paper will work best; it can get through destroying and covering.
Pencil: Use a customary graphite pencil for depicting and beginning outlines.
Eraser: Save a fragile eraser that helps redress mistakes and refine your drawing.
Markers or Concealed Pencils: At whatever point you’re content with your pencil sketch, you can use markers or shaded pencils to add enthusiastic assortments to your seahorse.
Since you have your materials arranged, we ought to begin the step-by-step course of drawing a cartoon seahorse:
Stage 1: Basic Framework
Start by drawing an essential oval near your paper’s most noteworthy place. This will be the seahorse’s head. Then, draw a long, twisted line connecting from the head to make the body. The body should be twisted towards the end.
Stage 2: Add the Nose
At the front of the oval head, draw a little curve that is the condition of a catch. This will be the seahorse’s nose. The nose is one of the specific features of a seahorse and gives it its exceptional appearance.
Stage 3: Make the Eye
Near the underpinning of the nose, draw in a little circle to address the eye. Please pass on a little white element in the eye to give it an energetic look. This component will make your cartoon seahorse appear more expressive.
Stage 4: Draw the Dorsal Sharp edge
On the back of the seahorse’s body, draw a movement of little, twisted lines that seem to be the condition of a vegetation leaf. These lines will make the dorsal edge of the seahorse. The dorsal sharp edge adds character to your cartoon and the seahorse’s allure.
Stage 5: Construction of the Tail
Grow a long, twisted line from the completion of the body to make the seahorse’s tail. The tail should be long and wavy, basically like the condition of a question mark. Make the tail more thin than the body to underline its delicate appearance.
Stage 6: Add Edges
Draw two little, twisted cutting edges on the lower part of the seahorse’s body. These sharp edges help the seahorse stay aware of harmony and security in the water. They should be changed and arranged towards the back of the body.
Stage 7: Surface the Body
To give your cartoon seahorse a genuinely charming surface, draw almost nothing, twisted lines around its body. These lines address the hard plates that cover a real seahorse’s skin. This step adds significance and detail to your drawing.
Stage 8: Finish the System
Go over your pencil lines with a hazier, fine-tipped pen or marker. This will portray the last design of your cartoon seahorse and make it stand separated on the paper. Erase any unnecessary pencil lines to clean up your drawing.
Stage 9: Assortment of Your Seahorse
By and by comes the clowning around part — concealing your cartoon seahorse! Use exuberant markers or concealed pencils to add tone to your drawing. You can pick reasonable assortments or let your imaginative brain wander indiscriminately with fantastical shades.
Body: Select an assortment for the body of the seahorse. Shades of orange, yellow, pink, or blue are notable choices. Assort the body while leaving the surface lines white to work on the seahorse’s done appearance.
Balances and Tail: Assort the sharp edges and tail with a barely lighter or comparing shade to the body tone.
Eye: Assortment of the eye with a faint assortment, similar to dull or diminished brown.
Stage 10: Establishment
If you should add an establishment to your cartoon seahorse, consider drawing a couple of lowered parts like kelp, air pockets, or other sea creatures. This will create what is happening for your seahorse to have.
Conclusion:
Congratulations! You’ve successfully made a cartoon seahorse from start to finish. Remember, cautious discipline achieves promising outcomes, so feel free to attempt various things with different stances, assortments, and styles as you cultivate your cartoon drawing capacities. With time and commitment, you’ll have the choice to make a whole lowered world stacked up with grand cartoon characters. For more information, please Click Here!