MX Records for Zoho: A Simple Guide
What are MX Records?
MX records, or Mail Exchanger records, are crucial components of your domain’s DNS settings. They determine where incoming emails for your domain should be routed. In the context of Zoho, MX records ensure that emails sent to your Zoho email accounts are delivered correctly.
Why are MX Records Important for Zoho?
Setting up the correct MX records for your domain is essential to ensure that your Zoho email services function properly. If the MX records are incorrect or missing, emails sent to your Zoho accounts may be delayed, bounced, or delivered to the wrong address.
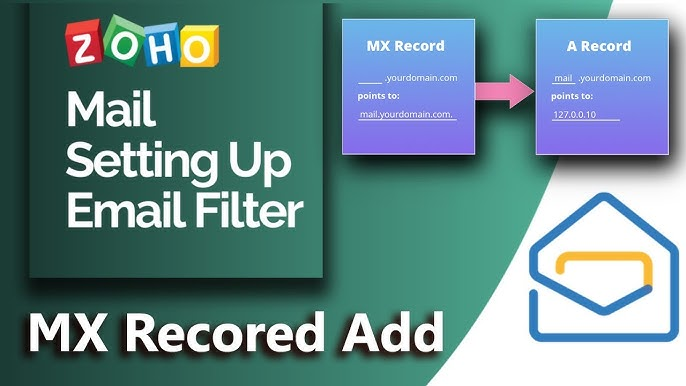
How to Set Up MX Records for Zoho
- Access your domain registrar: Log in to the control panel of your domain registrar (e.g., GoDaddy, Namecheap, Google Domains).
- Find DNS settings: Locate the section related to DNS settings or records.
- Add MX records: Add the MX records provided by Zoho. These records will typically include a priority number and a hostname.
- Save changes: Save the changes you’ve made to your DNS settings.
Note: The exact steps may vary slightly depending on your domain registrar. Refer to their documentation or support for specific instructions.
Importance of MX Records for Your Business
Correctly configured MX records are vital for your business’s email communication. They ensure that your emails reach their intended recipients promptly and reliably. This is particularly important for businesses that rely heavily on email for customer interactions, sales, and other operations.
Setting up MX (Mail Exchange) records is a crucial step when configuring your domain to work with Zoho Mail. MX records direct email traffic to Zoho’s mail servers, ensuring that your emails are delivered correctly. If you’re new to this process, it’s fairly simple and key to having your emails routed through Zoho’s system.
To get started, log in to your domain provider’s control panel, such as GoDaddy, Namecheap, or Bluehost, and navigate to the DNS management section where you can update or add DNS records. Once you’re in the DNS settings, look for the MX records section. If there are existing MX from another mail service, you’ll need to either delete or replace them with Zoho’s records. It’s a good idea to make a backup of the existing settings, just in case.
Now, you’ll add the two MX provided by Zoho. The first record will have a priority of 10 and a mail server value. The second record should have a priority of 20 and a mail server value. These priorities indicate that emails should be delivered to Zoho’s servers, with lower priority numbers meaning higher importance.
After adding the records, save your changes. Keep in mind that DNS changes can take time to propagate across the internet, usually between a few minutes to 24 hours, so there may be a brief period of downtime for your email service during this time.
Once the records are saved and updated, log in to your Zoho Mail admin console to verify the setup. Zoho will check if the MX records have been properly configured. If everything is set up correctly, your domain will be fully linked with Zoho Mail, and you’ll be able to send and receive emails through their platform without any issues.
Following these steps ensures a smooth integration of Zoho Mail with your domain, providing you with reliable and secure email communication for your business.
Why Choose iTecZone as Your Zoho Partner
At iTecZone, we are a certified Zoho partner with a team of experienced developers. We can help you set up and customize your MX records to ensure optimal email delivery for your Zoho accounts. As your Zoho consultant partner, we offer top-tier services for all Zoho applications, helping you streamline your business processes and achieve your goals.