Rain Drawing for Kids
There are different kinds of weather conditions, and everyone has their main. A like a splendid brilliant day to spend exploring outside, and a like a wonderful rainy day to appreciate scrutinizing a book with some hot chocolate. Learn this blog and visit the more drawing tutorials like Pinkie Pie Drawing.
Weather patterns is similarly regularly tended to in various show-stoppers, and this can be an unprecedented technique for showing your veneration for your #1 atmospheric conditions type. If you love a fair turbulent day, you could have to sort out some way to draw rain. This helper before you deals with you!
Stage 1 – Rain Drawing
In this little by little aide on the most capable technique to draw deluge, we won’t simply be drawing the real rain. We will in like manner be drawing the deluge cloud, and that is the point we will draw in this underlying step. To do this, you will foster the cloud by using stacks of twisted lines communicating with one another.
There will be three fogs by and large for this picture, and for the current we will draw the most elevated marks of the underlying two.
Stage 2 – Draw nearly a more noteworthy measure of the fogs
We will develop to the fogs to some degree more in this step of your rain drawing. In any case, we will start by drawing in one more little cloud the front of the picture, and comparatively similarly as with the beyond ones we may be drawing its most noteworthy point.
Then, you can finish the plan of the greater cloud that you started in the underlying step. That is all that we will draw for this step, and by and by you’re ready to forge ahead toward the accompanying one!
Stage 3 – By and by, finish the rest of the cloud outlines
This third step of our assistant on the most capable technique to draw deluge will be connected to finishing the structures of the fogs before you draw the genuine rain. To do this, you will fundamentally be characterizing all the more unpleasant limits for the overabundance two fogs that you started as of now.
While you can follow our reference picture and mimic its energy, you could similarly change the development of the fogs a little if you wish! Then, at that point, we will start to draw in the rain the accompanying stage.
Stage 4 – Next, draw the drops of deluge
You’ve spent the underlying strides of this deluge drawing fostering the rainclouds, and in this step you will finally start to draw some rain! This step should be exceptionally straightforward, yet then again it’s one where you can change everything around a piece dependent upon your tendency.
It will be especially basic at whatever point you’ve dealt with drawing the raindrop shape a bit. For this step, we will generally be focusing in on the locale on the left-hand side of the cloud. We made the raindrops to some degree tremendous in our reference picture and held it to six drops.
This is just a single methodology, regardless, and as we referred to you can change everything around a piece as you wish. You could make the drops more unobtrusive and more different or a lot more prominent. It’s absolutely reliant upon you, so make sure to get innovative and wreck around with it!
Stage 5 – By and by, you can finish the raindrops and last contacts
It’s almost time to start conveying a surprising tones to your picture, yet first we several contacts to remember for this guide how to draw deluge. First and foremost, you can finish the raindrops on the contrary side of the area under the fogs. Once more you shouldn’t feel like you want to unequivocally reproduce our model picture. You might if you at any point like the energy of it, yet you could in like manner change everything around a bit!
At the point when you have the drops by and large, you can then add a couple of twisted lines inside the fogs for a couple of extra nuances. That will do it for the contacts in this assistant, yet before you progress forward, make sure to add any extra nuances that you could require!
Perhaps you could change up the plan of the fogs by extending them a piece or adding to the shape. You could moreover draw a couple of extra parts, for instance, birds or a plane flying under the fogs. These are several contemplations to endeavor, yet what else could you anytime consider for this image?
Also Read media scentric
Stage 6 – Finish your rain drawing with some tone
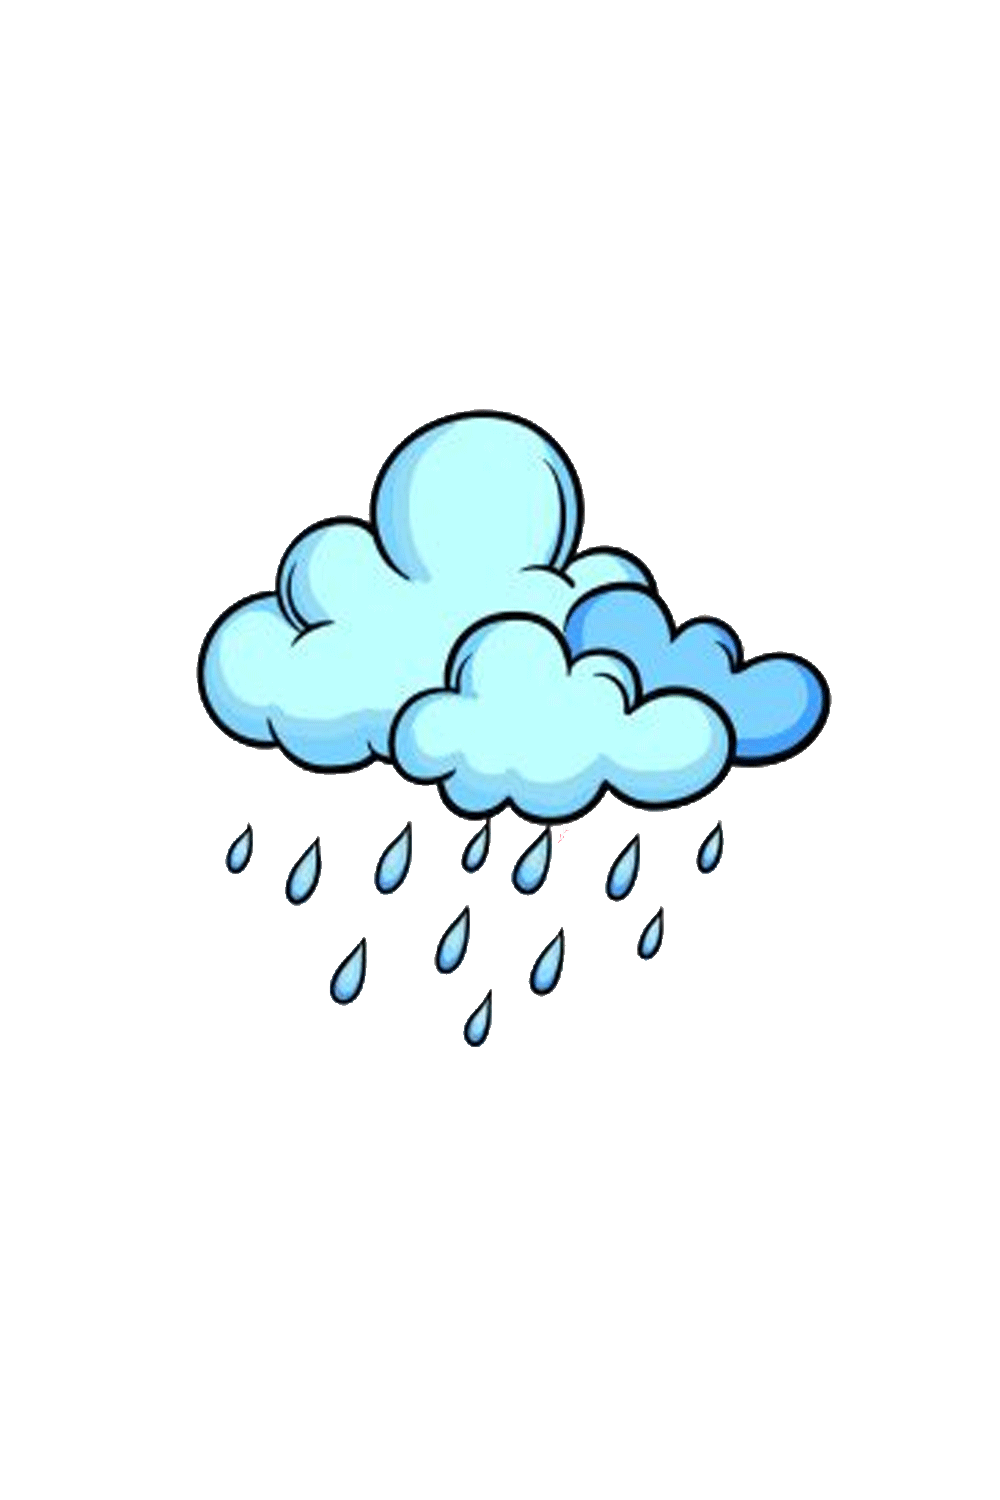
This last piece of your rain drawing will be connected to adding a surprising tone to finish the picture! In our reference picture, we went with a blue assortment plot for the fogs and the raindrops, but this is just a single out of numerous assortment plans you could go for.
You could similarly merge a hazier assortments to make these appear to be dull whirlwind fogs. Perhaps you could in like manner solidify a couple of additional mind blowing assortments for the sunlight hitting through or to suggest that a rainbow is outlining.
Your Drawing Tutorial Is Complete. So visit the more latest drawing for kids tutorials on cool drawing idea.